
Setting Your Wedding Day Beauty Schedule
/
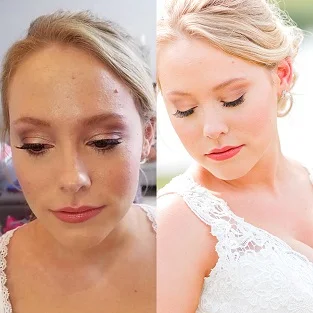
Molly Peach Photography
As your wedding day gets closer, you’re going to need to start locking in the timeline for all your vendors. There is so much to think about - what time will the flowers arrive? Will you be available to meet the florist at the door or will you be busy in hair and makeup? What about First Looks? When does the caterer need to start setting up? What about if the venue has limitations on what time you can get into the premises?
Wow. I’m overwhelmed just writing that. Y’all, planning a wedding is not easy, so I have some tips for scheduling your hair and makeup timeline on the Big Day!
First things first - ask your beauty vendors how much time they need to allot per person. Then, decide whether you’ll be doing photos before the ceremony. Will you be doing First Looks? What about photos of the family and wedding party?

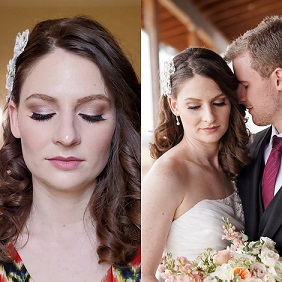
Taylor Kern Photography
Here’s a few scenarios that will help dictate the timeline:
If you’re only doing First Looks but saving the wedding party photos for after the ceremony, ask your photographer what time they would like you and your fiance(e) ready for photos. Your beauty vendors can finish up your wedding party while you’re off taking pictures.
If you’re doing the wedding party photos pre-ceremony as well as First Looks, check and see what time your photographer wants everyone to be ready. Your beauty team can still finish up your wedding party while you and your fiance(e) are off doing First Looks, as long as everyone else is completed by the time the group photos will start.
If you’re not doing First Looks but you are doing group photos before the ceremony, then obviously everyone needs to be ready at a certain time, and your photographer can help you navigate what time that should be.
If you’re not doing photos before the ceremony at all, I suggest having everyone completely ready an hour before the ceremony is set to begin. This gives everybody time to change into their wedding outfits, find their shoes and jewelry (the Getting Ready suites can get messy very quickly with so many things going on!), and allows time for the beauty vendors to do touch ups if needed.
If there’s travel time involved between where you’re getting ready and the ceremony, make sure you allow for at least an hour in between. Trying to corral so many people from one place to the next can be very chaotic - someone forgets a bouquet, someone lost a shoe, etc. You want to have plenty of time so you’re not stressing if something goes awry. And remember: if something does go amiss, it’s good to be prepared, but it will be okay. Breathe. Guests will probably have no idea that something went wrong.

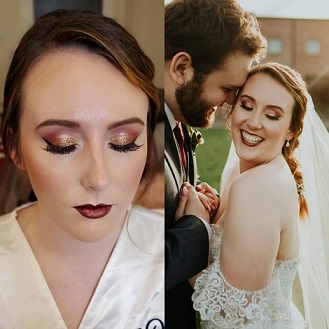
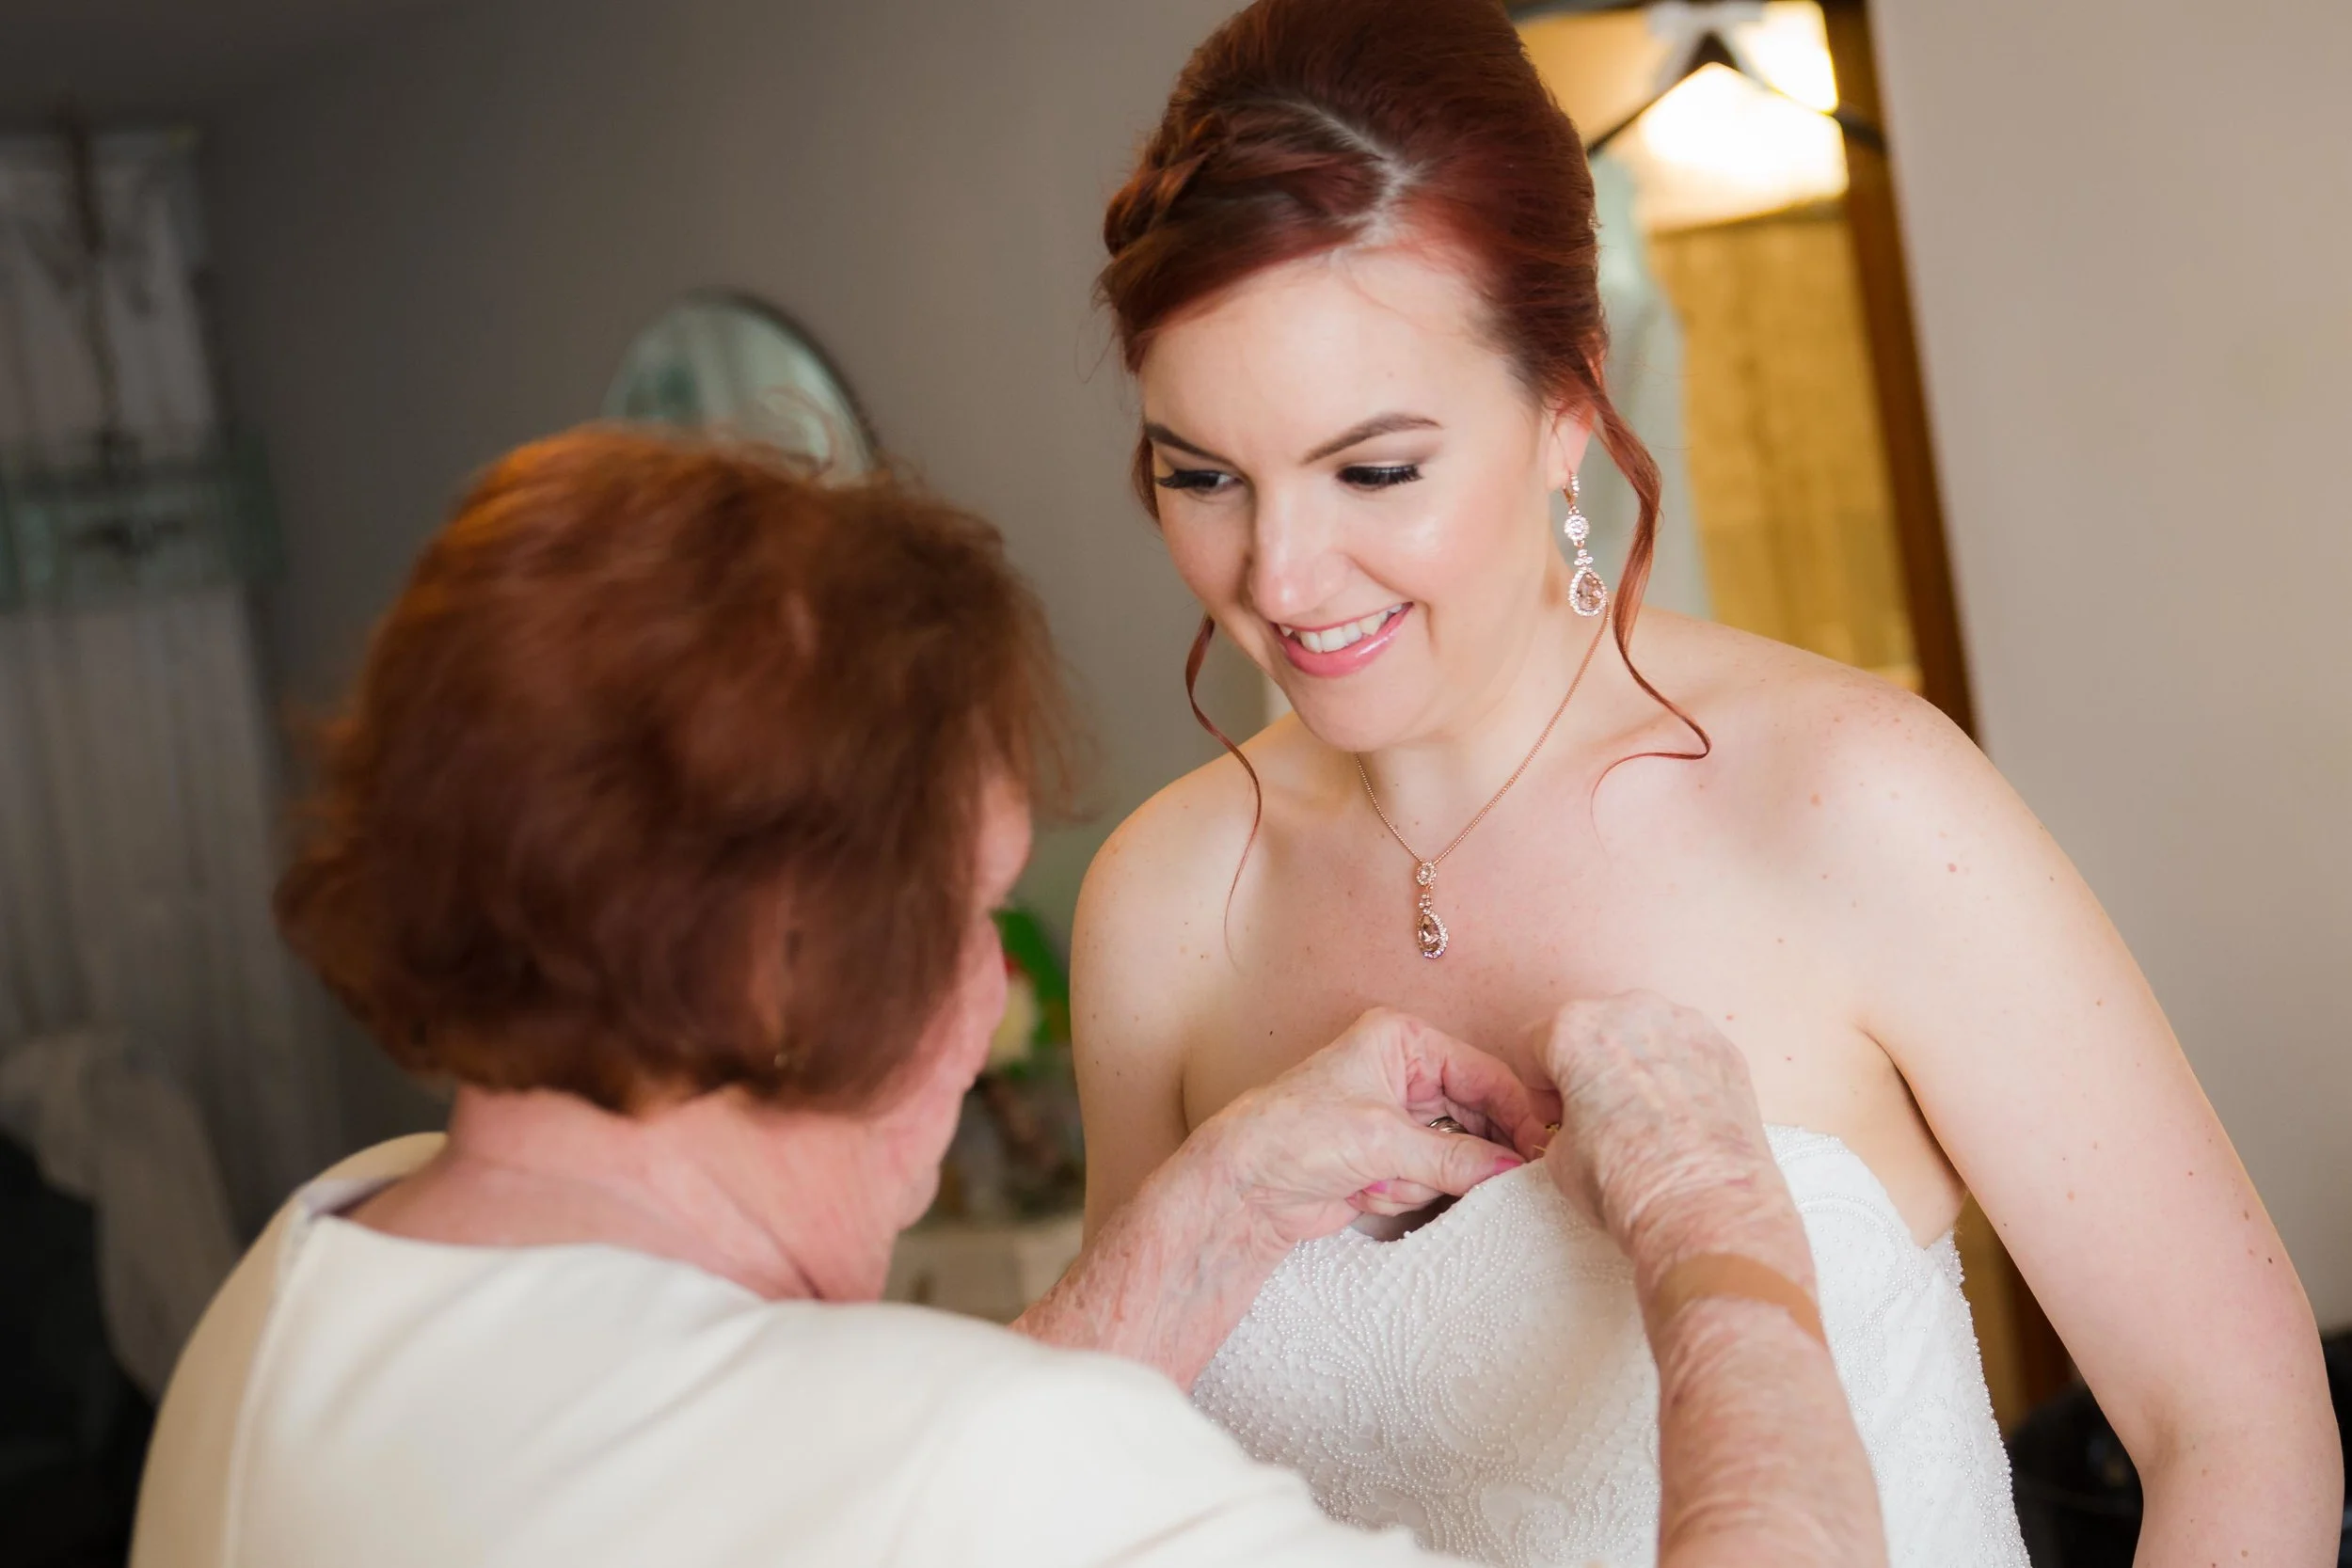
Kaitlyn Blake Photography
Something else you need to consider is the actual timeline of who’s getting hair and makeup done at what specific times. This is where having a separate hair and makeup person comes in handy, especially if you have more than two or three people in your wedding party who are receiving beauty services. Another advantage to having two (or more) artists working at once is that it shortens the timeline for the Big Day, so you’re not all up at the crack of dawn to make sure there’s plenty of time to get everyone done with hair and makeup. It’s a good idea to communicate a schedule between both artists, or even CC them on one email chain so everyone is on the same page. And hey, some artists will go out of their way to communicate with the other beauty vendors and coordinate a schedule without you having to put in any effort! You want to make sure the schedule is set so that someone is not supposed to be in the hair stylist’s chair and the makeup artists’s chair at the same time. Although, should this happen, it’s not the end of the world - we typically know how to work around each other as long as the space allows for it.
Another question that pops up a lot is: What time should the Soonlywed get hair and makeup done? I try to get the Soonlywed in my makeup chair either second-to-last, or third-to-last if they’re doing hair after makeup. This allows time for him/her/them to relax before changing into the wedding outfit, grab a bite to eat, let the makeup settle a bit, and then I can provide any lipstick or powder touch ups if needed.
I know this is a lot to take in, but if you’ve hired seasoned wedding vendors, they can definitely help guide you through the process. Don’t be afraid to ask for help! That’s what we’re here for (within reason) and this coordinated effort is part of what you’re paying for when you hire us.
Good luck, and congratulations!
Planning a wedding? Reach out to inquire about professional makeup services for you and your wedding party!